Trade Show Booth Setup Guide for Exhibitor Success
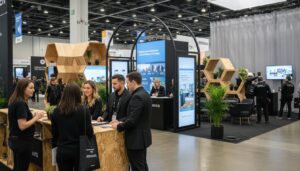
Most american companies spend thousands preparing for trade shows, yet a single overlooked detail can compromise their entire event presence. With booth spaces varying widely and logistics growing more complex, every inch and every cable counts. Understanding how to assess your exhibition area and organize essential equipment from the start sets the stage for a smooth, standout experience. This practical guide delivers the steps and expert tips that make your american trade show setup efficient, impressive, and worry free.
Table of Contents
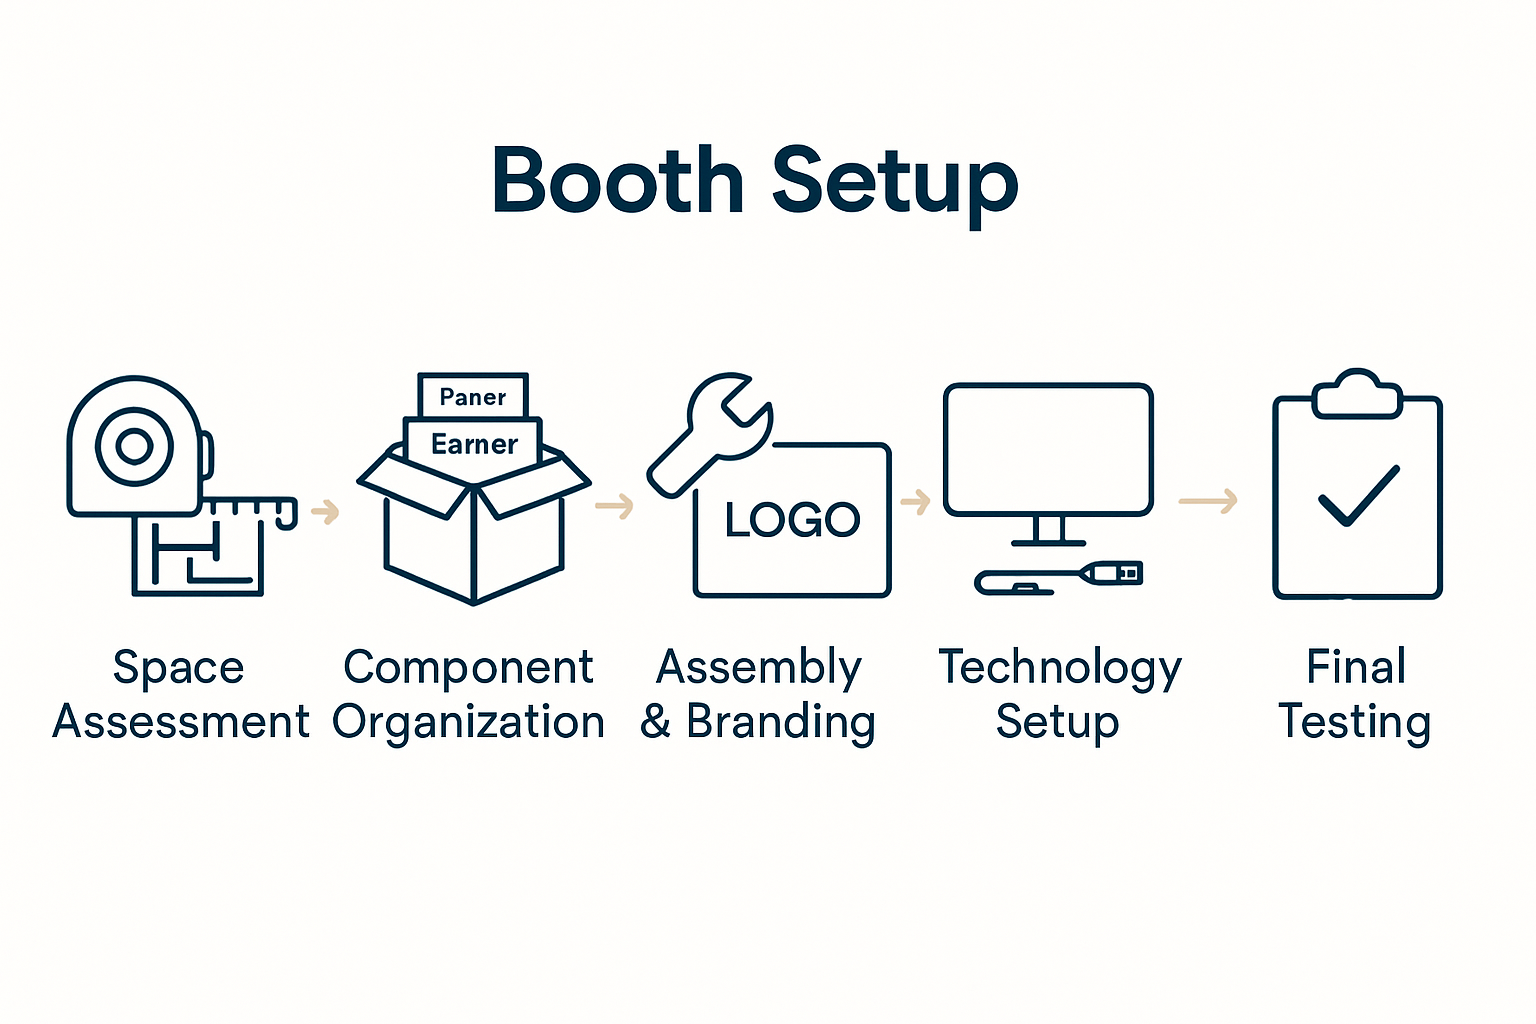
- Step 1: Assess Booth Space And Review Logistics Requirements
- Step 2: Organize Booth Components And Unpack Materials
- Step 3: Assemble Structural Elements And Install Branding
- Step 4: Configure Lighting, AV, And Technology Systems
- Step 5: Test Functionality And Verify Display Readiness
Quick Summary
| Key Message | Explanation |
|---|---|
| 1. Assess booth space meticulously | Review floor plans and measure your booth space to ensure compliance with height, width, and construction guidelines. |
| 2. Organize components efficiently | Develop a systematic unpacking and assembly plan, labeling materials clearly to streamline setup and minimize confusion. |
| 3. Prioritize branding during assembly | Install graphics and signage strategically to enhance visibility and ensure professional presentation from multiple angles. |
| 4. Configure technology and lighting wisely | Map out tech requirements and position lighting effectively to create an engaging attendee experience while managing cables neatly. |
| 5. Conduct thorough functionality checks | Test all equipment and displays prior to the event to ensure seamless operation and address potential issues proactively. |
Step 1: Assess booth space and review logistics requirements
Successful trade show participation starts with a strategic booth space assessment and thorough logistics planning. Understanding your physical exhibition area and operational requirements sets the foundation for a smooth and impactful event presence.
Begin by carefully reviewing the floor plan and dimensions provided by event organizers. Measure and document your allocated booth space precisely, noting exact measurements for length, width, and height restrictions. Pay close attention to any special guidelines about booth construction, electrical access points, rigging limitations, and equipment placement rules. Trade Show Booth Planning Guide: Maximize Event Impact provides comprehensive insights into navigating these critical details.
Create a detailed logistics checklist that covers transportation of booth materials, on-site assembly requirements, equipment needs, and potential setup challenges. Consider factors like floor weight limits, power supply specifications, internet connectivity, and audiovisual equipment compatibility. Anticipate potential logistical hurdles by scheduling a site walkthrough or requesting detailed venue specifications well in advance. Proactive planning helps prevent last-minute complications and ensures a seamless exhibition experience.
Pro Tip: Always include buffer time in your logistics planning. Unexpected delays can happen during booth setup, so having a flexible schedule and backup solutions can save significant stress and potential revenue opportunities.
Step 2: Organize booth components and unpack materials
Mastering booth component organization and strategic material unpacking is crucial for creating a professional and efficient exhibition setup. This stage transforms your carefully planned logistics into a tangible, impressive display that captures attendee attention.
Start by creating a systematic unpacking strategy that follows a logical sequence. Exhibition Booth Assembly: Everything You Need to Know recommends laying out all components in a predetermined order before assembly begins. Arrange your materials by size and function keeping fragile items separated and easily accessible. Carefully inspect each component for potential shipping damage before installation checking electrical equipment graphic panels stand structures and support materials.
Prioritize a methodical approach to inventory and assembly. Group similar components together marking boxes with clear labels indicating contents and assembly sequence. Have a dedicated team member responsible for tracking materials and maintaining an organized workspace. Consider creating a visual booth map that outlines exact placement for each component which helps streamline the setup process and reduces potential confusion during installation.
Pro Tip: Pack a dedicated emergency repair kit with essential tools spare connectors cable ties backup graphics and basic repair materials. This preparedness can save critical setup time and prevent minor issues from becoming major disruptions during your exhibition.
Step 3: Assemble structural elements and install branding
Transforming your booth from a collection of components into a cohesive brand showcase requires precision strategic planning and careful execution. This critical stage will turn your design concept into a compelling visual experience that attracts and engages potential clients.
Master the Custom Booth Design Process for Trade Shows emphasizes the importance of following a systematic approach during booth assembly. Begin by constructing your booth’s foundational structural elements first ensuring each frame connection is secure and aligned precisely. Start with the main support structures then progressively add modular panels graphic displays and architectural components. Pay meticulous attention to vertical alignment symmetry and stability checking that each element sits perfectly level and creates a professional seamless appearance.
Prioritize branding integration by carefully installing graphic panels logos and signage to maximize visual impact. Position your company branding strategically ensuring maximum visibility from multiple angles. Use high quality mounting hardware and precise measurement techniques to align graphics perfectly avoiding wrinkles or misalignments.
Consider creating visual focal points that draw attendees attention and communicate your brand message quickly and effectively.
Pro Tip: Always have an extra set of hands during assembly and designate one team member as the quality control specialist who can step back and assess the overall booth aesthetics and structural integrity. This extra set of eyes can catch potential issues before they become problematic during the exhibition.
Step 4: Configure lighting, AV, and technology systems
Configuring your booth’s technological infrastructure is a critical step that can dramatically enhance attendee engagement and showcase your brand’s professional capabilities. This phase transforms your booth from a static display into an interactive and dynamic experience that captures attention and communicates your message effectively.
Begin by comprehensively mapping out your electrical and technological requirements before arriving at the venue. Carefully inventory all necessary equipment including displays tablets interactive screens presentation hardware and supporting technological components. Turnkey Solutions | Adam Expo Stand Solutions recommends testing all equipment thoroughly prior to installation and bringing redundant power strips surge protectors and extension cords to manage unexpected electrical configuration challenges. Strategically position lighting to highlight key product areas create visual drama and ensure optimal visibility across different viewing angles.
Prioritize seamless integration of audiovisual systems by creating clean cable management solutions that maintain a professional appearance. Select lighting configurations that complement your brand aesthetic while providing sufficient illumination for product demonstrations and interactive zones. Consider using adjustable LED lighting systems that allow quick color and intensity modifications to suit different presentation needs. Ensure all technology interfaces are user friendly and positioned to maximize interaction without creating physical barriers in your booth space.
Pro Tip: Always pack a comprehensive technology emergency kit including spare HDMI cables power adapters backup batteries multiport USB chargers and a portable wifi hotspot. This preparedness can prevent potential technical disruptions and demonstrate your teams technical proficiency and problem solving capabilities.
Step 5: Test functionality and verify display readiness
The final critical stage of booth preparation involves comprehensive functionality testing and meticulous display verification. This systematic approach ensures that every technological element audiovisual component and visual display operates flawlessly before potential clients arrive.
Master the Custom Booth Design Process for Trade Shows recommends conducting a comprehensive pre show system check that simulates real world presentation scenarios. Start by powering up all electronic equipment methodically testing each display screen interactive touchpoint projection system and audio component. Verify wireless connectivity bandwidth performance and ensure all digital presentations load quickly and smoothly. Check graphic alignment color calibration and screen resolution to guarantee professional visual presentation. Pay special attention to sound quality microphone functionality and any interactive demonstration technologies.
Conduct a full walkthrough simulation examining your booth from an attendee perspective. Assess visual ergonomics ensuring that display heights viewing angles and interactive zones create an intuitive and engaging experience. Test lighting transitions demonstrate presentation flows and confirm that all technological systems integrate seamlessly. Verify that branding materials technical displays and interactive elements create a cohesive narrative that communicates your companys value proposition effectively.
Pro Tip: Create a detailed equipment checklist with specific testing protocols and assign a dedicated team member to perform final system checks. This approach minimizes potential technical glitches and ensures your booth presents a polished professional image from the moment attendees approach.
Elevate Your Trade Show Success with Expert Booth Solutions
Setting up a trade show booth can be overwhelming when facing challenges like precise space assessment, structural assembly, and technology integration—all key points in the “Trade Show Booth Setup Guide for Exhibitor Success.” Pain points such as managing logistics, organizing materials efficiently, and ensuring flawless functionality demand both expertise and careful planning. You need a partner who understands the importance of transforming your design vision into a captivating, professional exhibition that draws attendees and communicates your brand message clearly.
At Adam Expo Stand, we specialize in providing personalized, turnkey trade show booth services that cover everything from conceptual design and 3D visualization to on-site assembly and logistics support. Our reusable modular stands and rental options cater to sustainable solutions while maximizing your brand visibility. Take the stress out of your next trade show by trusting our team to manage every detail with precision and creativity.
Ready to overcome setup challenges and create a memorable trade show presence? Discover how our comprehensive exhibition stand design and turnkey solutions can help you deliver flawless booth execution and elevate your event impact. Visit us today and start planning your success with confidence.
Frequently Asked Questions
How do I assess my booth space before a trade show?
To assess your booth space, start by reviewing the floor plan and noting the dimensions provided by the event organizers. Measure your allocated area carefully and document any specific guidelines regarding construction or equipment placement.
What should I include in my logistics checklist for booth setup?
Include transportation details for booth materials, on-site assembly requirements, equipment needs, and potential challenges in your logistics checklist. Consider elements like weight limits, power supply specifications, and internet connectivity to ensure a smooth setup.
How should I organize booth components before assembly?
Organize booth components by laying them out systematically and categorizing them by size and function. Mark boxes clearly with labels for contents and assembly sequence to streamline the setup process.
What are important steps for installing branding at my trade show booth?
When installing branding, prioritize positioning graphic panels and signage for maximum visibility. Ensure that each element is accurately aligned and use high-quality mounting hardware to prevent misalignment.
How can I ensure all technology works properly before the show?
Perform a comprehensive system check prior to the show to test all electronic equipment, displays, and audio components. Simulate real-world scenarios to ensure everything operates smoothly and check for connectivity issues.
What should I do if I encounter technical problems during setup?
If you face technical problems, refer to your emergency technology kit, which should include spare cables and backup batteries. Quick troubleshooting and having essential tools on hand can minimize delays and keep your setup on schedule.
Recommended
- Success Exhibiting at IFEMA Madrid: The Ultimate Exhibitor Guide
- The Ultimate Guide to Trade Booth Rental Design in Europe | Adam Expo Stand Solutions
- The Ultimate Guide to Trade Show Booth Types and Strategies | Adam Expo Stand Solutions
- Exhibition Stand Design and Build in Madrid Spain: Ultimate Guide
- Step By Step Tent Setup: Easy Guide For Quick Camping Success – Tent Explorer