An exhibition stand is much more than just a temporary storefront.
It’s your brand’s handshake, its smile, and its opening line, all rolled into one physical space. Done right, it pulls people in, starts great conversations, and turns curious visitors into happy customers. But a weak design gets lost in the noise, costing you time, money, and opportunity.
This guide is your complete playbook for designing your exhibition stand. We’ll walk you through every step, from the first sketch to the final handshake. Whether you’re a seasoned marketer or planning your very first trade show, you’ll find clear tips here to create a stand that attracts the right people, engages them in meaningful ways, and delivers real results for your business.
Set Objectives, Audience, and KPIs
Before you think about colors or furniture, you need to know why you’re even going to the show. What does success look like? Start by setting clear goals. Are you trying to get 100 new leads? Schedule 20 product demos? Or just get your name in front of the right people?
Next, think about who you want to talk to. Imagine your perfect customer walking down the aisle. What problems do they have that you can solve? Your design should speak directly to them.
Finally, decide how you’ll measure success. These are your Key Performance Indicators (KPIs). They could be:
- Leads: The number of people who give you their contact info.
- Meetings: The number of one-on-one appointments you book.
- Pipeline: The value of potential sales that start at the show.
It’s also smart to plan your team’s capacity. If you want 50 meetings over two days with two sales reps, you need to know how many appointments each person can realistically handle. This simple math helps you set achievable goals.
Messaging Hierarchy and Visual System
Once you know your goals, it’s time to think about your message. You have about three seconds to grab someone’s attention. What is the single most important thing you want them to know? This is your core promise, and it should be short and sweet—think eight words or less.
Your visual system is how you bring that message to life. Use the “3-30-300 rule” as a guide:
- From 300 feet away: Your logo and main brand color should be visible.
- From 30 feet away: Your main headline or core promise should be easy to read.
- From 3 feet away: Visitors should see details, like product benefits or a call to action.
Use big, bold fonts for your main message and ensure there’s enough contrast between the text and the background. Before you finalize anything, look at a floor plan of the event. Imagine where people will be walking and check that your most important messages are visible from the main aisles.
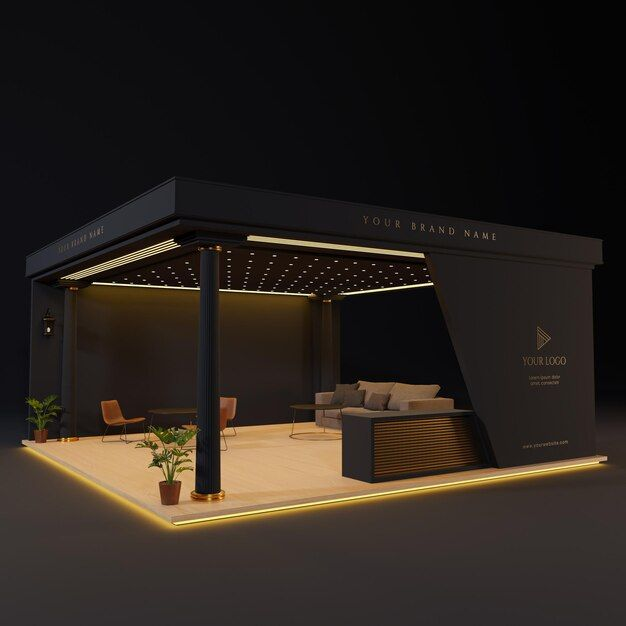
Spatial Layout, Flow, and Zoning
Your stand’s layout is its road map. It guides visitors on a journey. A great layout feels open and welcoming, not cramped and confusing. Think about creating different zones for different activities:
- Attract Zone: The outer edge of your stand, designed to catch people’s eyes and pull them in.
- Engage Zone: An area where people can interact with a demo, watch a video, or talk to your team.
- Convert Zone: A semi-private space for deeper conversations or scheduling a follow-up meeting.
Make sure there are clear paths for people to walk through. Keep sightlines open so your team can easily see and greet new visitors. And don’t forget storage! You’ll need a hidden spot for coats, bags, and extra supplies.
Most importantly, make your stand accessible to everyone. Ramps for wheelchair users, clear pathways, and easy-to-read text ensure that every visitor feels welcome. A few clever neurodesign cues, like using bright colors, gentle motion on screens, or a surprising object, can also make people curious enough to stop and look.
Experience Design and Engagement Mechanics
A great stand isn’t just looked at; it’s experienced. You need to give people a reason to stop and stay for a few minutes. Interactive elements are fantastic for this.
Consider a few exhibition stand ideas:
- Live Demos: Show your product in action.
- Samples: Let people touch, taste, or try what you offer.
- Gamification: A fun quiz or a simple game can draw a crowd.
- Photo Moments: Create a cool backdrop where people can take a selfie and share it online.
The goal is to create a memorable moment. But don’t forget your business objective. Your engagement should lead to a conversation. Make your lead capture process quick and easy. Using a tablet with a simple form is much better than fumbling with paper and pens.
It’s also a good idea to design for different personality types. Some people love a high-energy demo, while introverts might prefer a quiet corner where they can browse information on their own.
What engagement tactic actually increases dwell time?
While flashy games can attract attention, tactics that offer real value tend to hold people longer. A short, helpful workshop, a personalized consultation, or an interactive demo that solves a visitor’s specific problem will keep them engaged far more than a simple prize wheel.
Lighting, Materials, and Build Quality
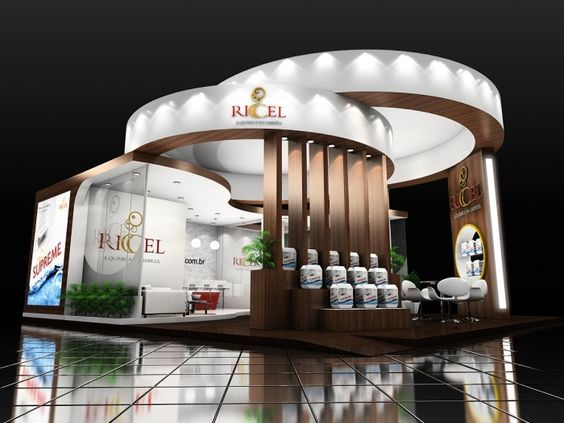
Good lighting can make a stand feel exciting and professional, while poor lighting can make it feel dull and cheap. Use a mix of lighting types:
- Ambient Lighting: For overall brightness.
- Task Lighting: To highlight specific areas, like a demo station.
- Accent Lighting: To draw attention to your logo or a key product.
When choosing materials, think about durability and weight. Your stand will be built, taken down, and shipped, so it needs to be tough. Lightweight materials can save you a lot of money on shipping. Modular exhibition stands are a popular choice because they can be reconfigured for different shows, making them a great long-term investment.
Don’t forget about noise. Exhibition halls are loud. Using materials that absorb sound, like carpet or fabric panels, can create a calmer space for conversations. Always check the venue’s rules for things like fire codes and power limits before finalizing your build.
Technology Stack and Data Capture
Technology can make your stand more dynamic, but it should always serve a purpose. Big screens are great for looping videos or showing a live social media feed, but make sure they don’t block important messages or create clutter.
Your most important piece of tech is your lead capture system. Use an app that lets you scan badges or quickly type in contact details. Your team should be able to add notes about their conversation, helping you personalize your follow-up later.
And what happens if the Wi-Fi goes down? It’s a common problem at large events. Have a backup plan. Choose a lead capture app that can save data offline and sync it to your system later. Finally, be transparent about how you use data. Let people know you’ll be contacting them and get their consent. This builds trust from the very first interaction. The entire process of designing your exhibition stand should keep the user experience in mind.
Budgeting, ROI, and Total Cost of Ownership
Let’s talk money. Your exhibition budget is more than just the cost of the stand itself. You need to account for everything, including:
- Design and Build: The cost of creating the stand.
- Shipping and Drayage: The fee to get your stand from the loading dock to your spot on the floor.
- Installation and Dismantle (I&D): Paying a team to set up and take down your stand.
- Show Services: Electricity, internet, and cleaning.
- Staffing and Travel: The cost of your team.
One big decision is whether to go with rental vs custom stands. A rental is often cheaper for a single show, but if you attend multiple events per year, a custom modular stand that you own can be more cost-effective over time.
To figure out your Return on Investment (ROI), calculate how much revenue your leads from the show eventually generate. Compare that number to your total event cost. This tells you if the show was truly worth it.
Vendor Selection and Contracting
Choosing the right partner to build your stand is crucial. Look for a company with a strong portfolio and great reviews. When you ask for a quote, give them a detailed brief that explains your goals, audience, and must-have features.
When you compare quotes, make sure you’re comparing apples to apples. Check that the materials, labor, and included services are the same. A cheaper quote might mean lower-quality materials that won’t last.
Your contract should be clear about costs, timelines, and what happens if things go wrong. Include Service Level Agreements (SLAs) that define expectations and penalties for delays or mistakes. This protects you and ensures everyone is on the same page.
Timeline, Logistics, and Compliance

The secret to a stress-free exhibition is a good plan. Start planning at least 12 weeks before the show. Create a timeline with key milestones, like “Finalize Design” and “Ship to Warehouse.”
Exhibition logistics can be complex. You’ll need to order show services, arrange shipping, and understand the venue’s rules. For example, some venues require you to use union labor for setup, which can affect your budget and schedule.
Create a risk register—a simple list of things that could go wrong (e.g., damaged graphics, staff illness) and your plan to deal with them. Having a plan B (and C) will save you from last-minute panic.
Staffing, Training, and On-Floor Operations
Your team is the heart of your stand. Even the most beautiful design will fail if the people working in it are not prepared. Choose team members who are friendly, energetic, and knowledgeable.
Provide training before the show. Give everyone a script with key talking points and answers to common questions. But also encourage them to have natural, human conversations.
Plan shifts so that no one gets too tired, and set a clear dress code that looks professional. A quick team huddle each morning of the show is a great way to share goals for the day and boost morale. Excellent training makes the entire effort of designing your exhibition stand worthwhile.
Sustainability and Accessibility by Design
Today, being a responsible company matters to customers. Incorporating sustainability into your exhibition stand design is not only good for the planet but also good for your brand.
Choose modular systems that can be reused for years. Use recyclable materials and low-waste graphics. Optimizing your shipping can also reduce your carbon footprint.
Accessibility is just as important. From the start, design your stand to be welcoming to everyone. This includes wide aisles for wheelchairs, easy-to-read fonts, and considering options for visitors with sensory sensitivities. When you’re proud of your sustainable and accessible design, tell people about it! Just make sure you can back up your claims.
Pre-Show Pipeline and Post-Show Nurture
The work starts long before the show doors open. Reach out to your top prospects and customers and invite them to visit your stand. Try to book some meetings in advance. This guarantees you’ll have meaningful conversations.
The work also continues long after the show ends. The biggest mistake companies make is slow follow-up. Reach out to your new leads within 24 hours while the conversation is still fresh in their minds.
Create different follow-up emails based on the quality of the lead. A hot lead who requested a demo should get a personal call right away. A colder lead who just scanned their badge could get a friendly email with helpful resources. If someone booked a meeting but didn’t show up, have a “no-show rescue” email ready to try and re-engage them.
Measurement That Matters
How do you know if all this effort paid off? By measuring the right things. Don’t just count the number of badge scans. Focus on quality over quantity.
Track metrics that predict revenue:
- Meeting Quality Score: After each meeting, have your rep rate it on a scale of 1-5.
- Qualified Leads: How many leads fit your ideal customer profile?
- Pipeline Sourced: How much potential revenue did you generate?
After the show, hold a post-mortem meeting with your team and your stand builder. Discuss what worked, what didn’t, and what you can do better next time. Keep an experiment log to track changes you make to your layout, messaging, or offers from show to show.
What KPIs best predict revenue from trade shows?
While leads are important, the number of qualified meetings booked with decision-makers is the strongest leading indicator of future revenue. These scheduled, one-on-one conversations are where real business relationships begin.
FAQs
How big should my stand be for my goals and budget?
It depends on your objectives. If your goal is to hold lots of private meetings, you’ll need more space than if you’re just doing quick demos. A good rule of thumb is to allow about 50 square feet per staff member you’ll have on the stand at any one time.
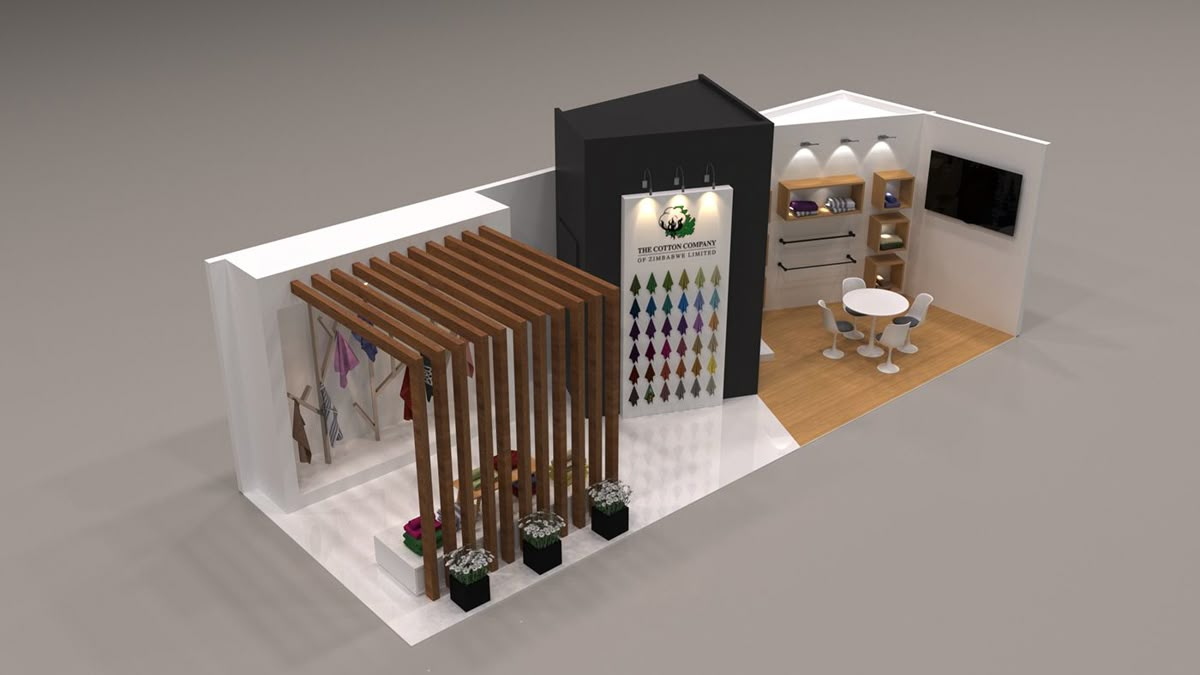
What’s the minimum viable stand that still converts?
A small, 10×10-foot stand can be very effective if it has a crystal-clear message, a welcoming design, and a well-trained, proactive team. Focus on one compelling offer and a simple, fast way to capture leads.
How early should I book services and freight to avoid rush fees?
Book as early as possible! Most show organizers offer an “early bird” discount for services ordered 3-4 weeks before the event. Leaving it to the last minute can sometimes double the cost, so it pays to be prepared. Successful designing your exhibition stand relies heavily on this type of advance planning.
Optional Assets to Help You Plan
- Stand Design Brief Template: A ready-to-use document to send to potential vendors, ensuring you get clear and comparable quotes.
- Budget and TCO Calculator: A spreadsheet to help you track all your costs, including the hidden ones, and calculate your total cost of ownership.
- Show-Day Go Bag Checklist: A list of essential items to have on-site, from extra phone chargers and zip ties to first-aid supplies and snacks.